Do you have handspinning questions? Are you looking for answers? Don't worry, Ms Spinster understands and is ready and willing to answer any questions. How do you think she came to be nicknamed: PatsyZ Most Excellent Spinnin' Guru.Calm

? For help write to Patsy at spins(at)spinninguru.com. Your question and her answer could be posted on this web page.

 Use the search tool and category list on the right to find the answer to your question.

Textiles & Tea Interviews me 4/9/2024

Like most of us, I seem to be wondering how I got to this age.  Often, I feel like I just sit and spin my wheels getting nowhere, Ha Ha Ha.  

However Tuesday, April 9th, 2024, I am honored to be featured on HGAs Textiles and Tea online program. Here are four ways to watch it. It is free for all.

https://weavespindye.org/textiles-and-tea/  is the live presentation on Tuesday, April 9th, at 4 pm EDT if you want to watch and ask a question.  Later it will be available shortly after the one hour interview on:

https://www.youtube.com/user/hgaweavespindye

https://www.facebook.com/HandweaversGuildofAmerica/

https://www.instagram.com/instahga/


I'm still excited, after all these years that I was able to teach and participate in guilds for 40 years of teaching, while we lived in various parts of the country.

    Brandon, SD, 1973-1975 Sioux Falls, where I learned to weave

    Rapid City, SD, 1976-1982 Rapid City where I learned to spin

    Greeley, CO, 1982-1989, Fort Collins, Northern Colorado Weavers 

    Ellettsville, IN, 1989-2002, Bloomington Spinners & Weavers Guild

    Elk Grove Village, IL, 2002-2014, Illinois Prairie Spinners

    and now in Silver Spring, MD, 2014, Weavers Guild of Greater Baltimore


More Mobius Vests

Mobius vests have fascinated me for most of my weaving career.  Since we moved a great deal, I'm pretty sure my first mobius vest was created while we lived in Rapid City, SD, on my rigid heddle loom.  I've now created four mobius style vests.  Mobius is actually a term for a connected strip with one twist, giving it an endless edge.

As a vest it refers to shaping that comes from one twist on each shoulder.  This removes the usual boxy shape from woven vests and creates an interesting visual of a collar in the front and no collar when viewed from the back.


This red/blue/green vest was woven as a longer vest and the second photo shows how I treated the cut edge

The vest contruction information is below the photos in the November 2022 blog.  After contructing the vest  I folded the fabric in half to find my cutting line.  There I stitched two small zag-zag rows on the edge with my sewing machine. You don't want to make the zig-zag tight you want it to look like lots of w's.

After cutting between them, I use a fine yarn and a lashing stitch to go back and forth between the two selvedges center back and on both sides..  Next, using a fine turquoise yarn I did a basic blanket stitch all around the cut edge taller than the zig-zag stitches.   Then to cover the machine stitches I used the same navy (looks dark grey) weft yarn and big eye needle to needle weave three rows using the blanket stitches like a warp.  I did this on the inside and the outside for a smooth finish. 


This mobius was made for the Convergence Fashion Show  1996, I had a dress made of the same chinelle and gold thread fabric.  


This vest was machine sewn tfrom left over pieces of fabric and I used a thin product called "Seams Great" to protect the edges of the cut fabric.


The various pieces allowed me to make a notched collar and tuxedo tails in back.  It has a typical folded hem plus a small side insert as the leftover pieces were not quite wide enough for ease. 


The small side panels should also be considered when you need more width in the body of the vest but that size would make the collar way too large and floppy.

It was dramatic and appropriate for my first and only Convergence Fashion Show runway outfit. 


I have now created four different but similar mobius vests.  Be sure to check each out if you have missed any of them. 

Nov 2022 has the first two a long dark one and a short gray one.

Oct 2017 has the one I call my orgami mobius vest since it has four folds, and includes small pockets.

This one Jan 2024 explains my favorite edging on the first long vest and has my tuxedo style mobius vest.


How did I Come to be a Spinner - 1981 Part 4 - Treadling My Biggest Challenge

Back at home, with the NEW Tradional Ashford, I tried remember what went on at our evening get togethers, but I had been weaving and chatting.  

Spinning was difficult!  

Treadling was difficult!  

Very difficult!  

None of this was going well.  I couldn’t keep my wheel going in one direction. 

My husband sat down and showed me that if I just thought of tapping my foot, like to music in 3/4 time, one, two, three, it would be easy.  But music rhythm did not come easy to me either, even with years of accordian lessons, back in the Lawarence Welk days..

I snapped, “Get off my wheel and don’t touch it again.”  Not my best moment.  A very gloomy start.  Okay, I thought, I need to get this, it's kind of like riding a bike, also not my specialty. I did know that managing the rotation of the wheel was going to be my first big challenge, hand and finger fine moter coordination seemed so much easier.  

I started in earnest, treadling so the wheel went slow enough but didn't reverse directions.  I treadled while watching TV.  I treadled while reading magazines or bedtime stories to my children.  I understood I needed to get beyond thinking about the treadling but to a place where I could just trust my foot and leg to know how hard to push so I got a full rotation and how often so the flyer would go at a reasonable speed as I learned to spin.  

I even attached a kid's block with rubber bands to make

 the footman come to the top.    

I practiced treadling while I taught myself how to hand card.  At one point I was amongst a large group of hand spinners treadling and carding, but not yet spinning.  Everyone there was worried, not because I was so slow in learning, but because a local newspaper reporter was going to visit with a photographer for a human-interest story.  They made me promise to get up and go into the kitchen the whole time the reporter was there, as surely it would be 

            a photo of me being so effiecent "carding and treadling" at the same time 

that it would land in the newspaper, confusing the public on how you could card and spin at the same time.

Finally, after a full month of treadling I could finally trust my foot to do what needed to be done.  I actually began to spin.  

So don’t despair if treadling and keeping the rotation smooth is difficult.  If I could learn this, so can you.  Just practice the rhythm of treadling, going for slow and smooth, the faster your foot goes the faster your hands will have to move to keep up.

Fixing a yarn that has been washed and set.

 Q - Can you change a yarn even though it is already spun, plied, washed and set?


A - Above is a video of the most important part of correcting a yarn 
Here below is a step by step how to that you can read and work your way through. 

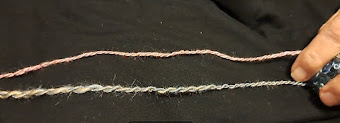
Starting with the pink and blue silk yarns that I had hoped to use together but after I started crocheting, I realized that I had spun the blueish one softer and with larger slubs that showed up during the plying.  The two were not going to work together.  

Changing a yarn isn't fast, nor is it guaranteed but if the fiber is precious or expensive like silk, it may well be worth your time. 

To change or fix a yarn you need to realize your options:
A - You can relax tight plying by removing some of the plying twist.
B - You can unply a plied yarn to use as a single or reply with more plies or a different yarn. 
C - You can unply the yarn and draft the single thinner, you CANNOT DRAFT IT THICKER  
D - You can remove some twist from a single that was overspun, which may allow the yarn to puff up more andlook thicker, but that is difficult to do evenly.  

Since this was a small ball of plied silk I choose to remedy the yarn with option C.  

First, I treadle the yarn onto a bobbin with the flyer going Z to remove the S-ply and passing it in when just as it looks like the ply has been removed. I started with the folded end since it had been plied as a ball and I didn't want to cut it.

Second, while still on the flyer and hanging out the orifice, I split the plys and wound one end on each hand, starting around two fingers . When it starts to build I add a third finger and wind more, then I can  remove a finger to keep it from getting too tight.  It's an odd little hand dance, that will end with two small balls still connected.  

If it had been a larger yarn I have used a second spinning wheel with a tight takeup to wind one ply and use a ball winder for the other.  Or my preference when I can lock up all cats, dogs and toddlers, I have simply pulled the plys apart and let them fall in a puddle one on each side of my chair.  As long as nobody messes with each puddle the ends will be on top.  If it was plied from a large ball you will be better off breaking the two sections apart, so you don't disturb the puddles.

As you are pulling it apart there will be areas where you probably went too far with the Z twist, or didn't quite do enough, but with the yarn still in the flyer you should be able to turn the flyer a few times to remedy those situations.

Third, now you need to correct your original problem.  My problem was too soft twist and too large slubs.  

My set up

  1. I set up my mini spinner on a slow Z speed but a slightly stronger takeup since I only needed a bit more twist. 
  2. I put the yarn balls into a zip bag mostly closed so they would not be rolling around the floor to be chased by a kitty. 
  3. After joining the end of the yarn to leader I sat about 4 feet away.  The extra space allowed me to see a slub coming and to work it out before it got the extra twist. 
Reducing slubs: I watched as the yarn went though my hands and if I saw a slub coming I placed my hands more than a fiber length apart at the slub.  Quickly, both hands were reversing the orignal Z twist until I saw untwisted fibers then I drafted just enough to smooth down the slub.  A quick release of the held back twist and I could move the yarn into the orifice and watch for the next slub. 

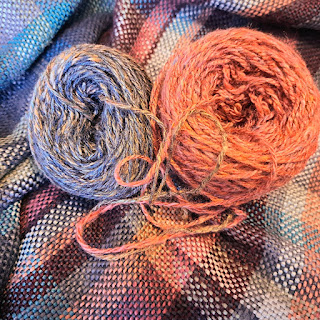
All that remained was to re-ply the yarn and re-set the twist.  Now I think the yarns will crochet well together to make narrow neck scarf to match this lovely square woven silk shawl that the yarns are sitting on.  Stay tuned for the finished scarf.

This shawl was a precious buy when we visited relatives in  Germany in 1989.  The cousin's wife took me to a weavers studio and where I admired all of her work, but we had a hugh language barrier.  The cousin bought a silk shawl for herself.  After we were back at her house, her husband was able to expain how much it had cost.  "Oh my! Please", I said, "Can you take me back as I also need to buy one."  I have loved it ever since. 

2/14/23


How Do You Wash/Scour Yarn Without Tangling - Part 2

If you have wound your skein on your niddy-noddy, be sure to tie it on several sides.  After your skein is tied in at least 3 if not 4 places, slip the skein off the niddy-noddy.  


How Do You Wash/Scour Yarn Without Tangling - Part 1

No matter how much you spend, a niddy-noddy is the best tool for preparing a skein for washing without tangling. 

Throw-back Thursday, WOW!

A few years back, I had a curious pm on my Facebook page.  
Did I live in Plentywood, MT in the 70s? 
Did I teach 1st grade?  I think you were my teacher.  

How Did I Come to be a Spinner - 1981 Part 3

Clearly I was a seamstress and a weaver, but spinning did not intrigue me in the least.  What I didn’t understand was my husband's point of view.  He knew 

1) nothing would keep me from attending this group.

How Did I Come to be a Spinner - 1981 Part 2

 After my husband Rich had finished his seminary degree, we moved to his first ELCA Lutheran parish in Brandon, South Dakota, 1973. 

I took a rigid heddle weaving class in nearby Sioux Falls. 
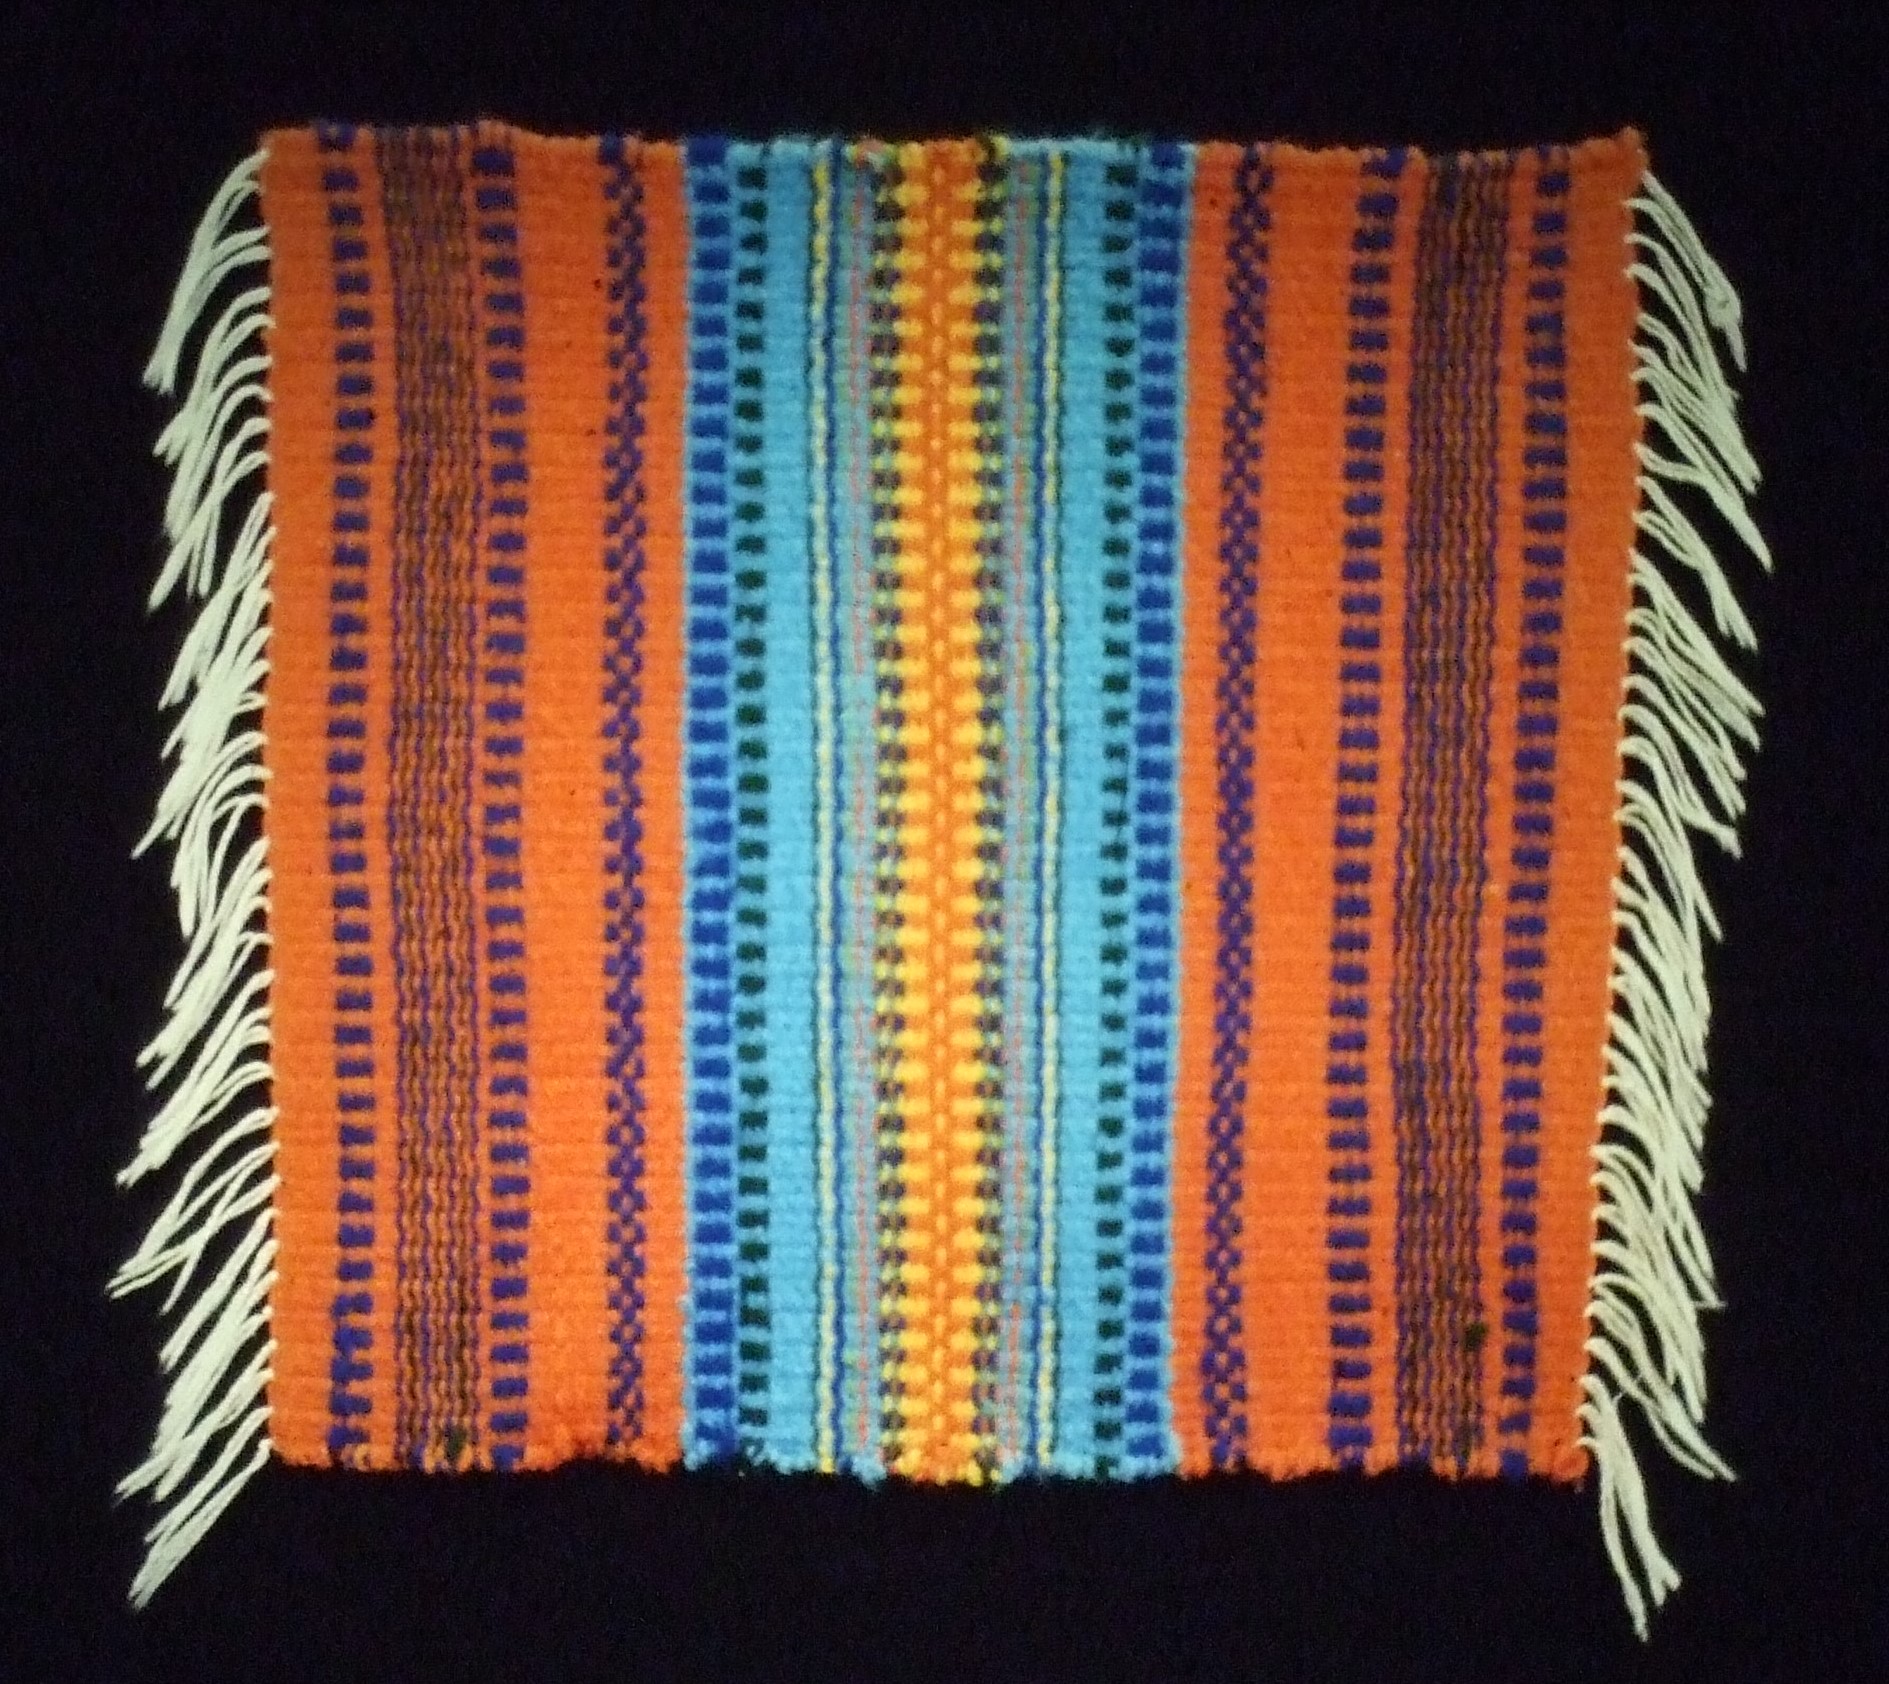
As an accomplished seamtress, weaving was nothing short of amazing!  That I could create cloth, unbelievable!  This colorful little mat was my first night’s weaving, I was only to do an inch, instead I couldn't stop and had to re-warp the loom before next week's class.  

How Did I Come to be a Spinner - 1981 Part 1

 As many spinners students have heard me mention, it was not my plan.  I just loved textiles, I've always loved the fabric store, and just the feel of any finished garment.  

Born in North Carolina, in a southern family, my given name is Patsy Sue Goodman. It was always assumed I would know how to sew and would be a mom. I learned to sew early, made my father a button up shirt in fourth grade on the treadle sewing machine he had electrified.  

Understanding S & Z Twist


Having the initials P S Z, I offer this hint to my students. Think of how your hand moves when you BEGIN to print a big letter Z, your hand moves to the right in the same direction we read, and the same as the hands on an old-fashioned clock. 

Yarn Structure Workshop


I just finished a first-time workshop named Yarn Structure, at the WGGB, Weavers Guild of Greater Baltimore.  As you may guess this combined old and new concepts.  It also proved to be a more than two-day workshop squeezed into two days.  I'm posting this as a reference for my students and as a reference for those inquiring about my workshop style. 


Longer Warps on a Rigid Heddle Loom

Direct warping a  Rigid Heddle-RH can be tiring walking back and forth across a room for a long warp, not to mention keeping everyone out of the way.  Here's how to use a warping board to reduce the walking.


KNEES What happened?

I realize I have been slow to post this summer.  I have been busy with writing for two publications, lots of PT and coming to terms with a new knee.  I'll first post a recent photo of some dyeing I did in August to show that I'm on my way back to full dyeing, spinning, and weaving.


Just last November, Rich and I were hiking in NZ for a lovely three weeks and danced at a cousin's wedding at the end of December.  Earlier in December, I slipped multiple times halfway up the muddy hill in my backyard. By January I .  realized I couldn't do a long draw or move the weaving shuttle to the right, at a visit to my Doctor I learned that I had torn my right rotator cuff and bicep.  I opted for a February surgery so I would be healed enough to teach three days in May at Maryland Sheep and Wool.  In March, my right knee developed a deep ache that wasn't helped by PT.  I wore a heavy brace for preparation and teaching alternating with elevation and an elastic brace.  MDSW was very tiring so I made good use of my screened porch when it was over. 


An MRI late May showed Osteonecrosis of the knee.  This wasn't arthritis, my right femur was dying.  There was no clear answer to why, but this put me in the fast lane for a partial knee replacement at the end of June.  Two surgeries in less than six months were very discouraging and left me wondering what had happened.  Here, I'm using an ice machine to keep my knee cool after surgery.


If I had a typical desk job I might have returned to work.  But, the doctor encouraged me to cancel my fall workshops to give me ample time for full recuperation.  Knowing how often I end up going upstairs and downstairs plus the standing required for preparing, packing, teaching, and unpacking my classes, I reluctantly agreed.  Add to that the travel and the walking once I'm on location and I couldn't see any other choice.  I also wanted to be fair to my events and guilds so they could have ample time to make the changes. 

I remember in 2003, I managed to travel and teach while in a wheelchair with my broken ankle, but I was 15 years younger, and now know how physically exhausting those workshops were, before, during, and after.

You've read this far and I still haven't said how I'm doing.  In many ways I'm making progress, I can drive now.  I'm still doing PT but now we're getting to the hard parts. 
My swollen knee is still painful. Sleeping is more challenging. 

I have been trying to walk in our local park, 3 non-PT days a week.  Rich has been ready to walk with me anytime I'm ready. The last time I walked the whole mile by myself, without holding on.  My area of Maryland is a very hilly place and I happen to live halfway down a very steep road, which I still can't walk up or down so we drive to the park, which is gorgeous with a gentle hill down and up for practice.  Here I am smiling after my first mile.


Also, I can't do stairs like before, my fastest way to go up is like a cat on hands and feet, while backward is the fastest way to go down.  Neither way is good for carrying anything.

I know I have a couple of e-spinning wheels, but I still wanted to work on my original traditional Ashford, my first love.  It has double treadle now, and I can spin for about an hour straight.  My new knee is achy when I sit properly with my legs down.  Standing still quickly gets tiring, Lutheran communion liturgy is about my limit right now.  

My son and his wife hired a nanny for the twins so I could focus on my PT, healing, and writing.  I think the article in NZ Ashford's Wheel about spinning and rigid heddle weaving with crepe and cable handspun will be published first.  Then you'll have to wait a bit for my next PLY article.  I can't say any more at this time but I'm pleased with both.

I have begun to accept teaching contracts for 2019, so I hope to see many of you at an event next year.  Thank you for all your well wishes, thoughts, and prayers.  They were and are always appreciated.  I know many of my students have traveled this journey with new knees and I have a new appreciation for what they have been through.

Just the Flax, Please!

I love PLY Magazine for their new perspectives and added dimensions.  PLY showcases multiple points of view and many issues are dedicated to single topics. Beautiful to read and to hold, all most all of the photos are staged and taken by PLY's own photographer, Bernadette Emerson.

In the Spring Flax 2018 issue, I was fortunate to author two articles and an opinion on the Hot Button question. "Twist on Flax" and "Finishing Flax" hold several of my tips for working with flax fibers.

Other writers filled in the starting and drafting articles.  Here is what I would add. I'm a firm believer in spinning from long line strick for the finest flax/linen yarns. In workshops I help the students recognize how helpful the distaff is.  It becomes an extra helping hand, your backhand to hold the fibers. This frees your usual backhand to for new tasks. The first task for the back-hand is holding the twist to keep it out of the fibers while the forward hand dips into the water pot for wet-spinning.  The second task is traffic controller, managing unruly fibers only when needed.


In this video, you will see how my backhand replaces my front hand allowing me to wet my fingers then I continue wet spinning my flax with my wet forward hand. The backhand just holds the twist so it doesn't move further into the fibers until the front hand has time to re-wet.

I always keep my fibers under control and prefer to draft the fibers as they move straight down from the distaff.  My favorite style of dressing the distaff is the ponytail.  This requires a very tall distaff.  It is helpful if it is adjustable as you will spin the longest fibers first and over the spinning day you will be working with ever shortening fibers. 

A distaff can be created many ways, it is a truly utilitarian tool.  Sometimes it was only a peg on the wall near where the spinner sat.  Sometimes there was a hole in the chair seat that held the distaff beside the spinner.  Sometimes it is a stand-alone tall rack like a coat rack.  Many times it is attached to the wheel with a 3 piece arrangement that gives some adjustment to the placement.

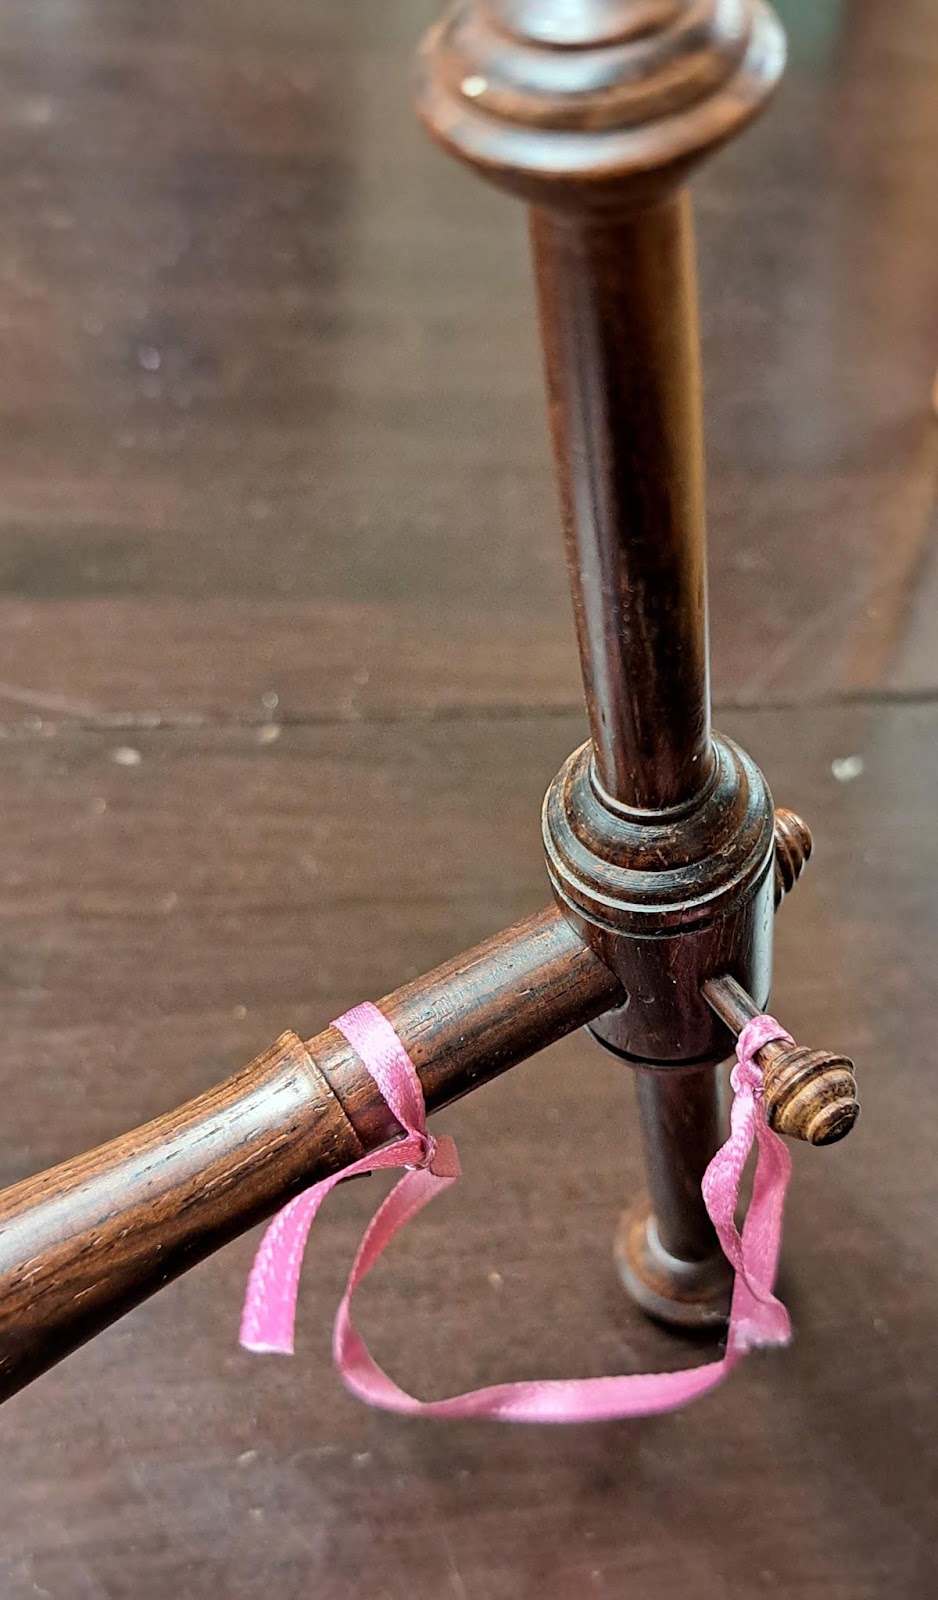
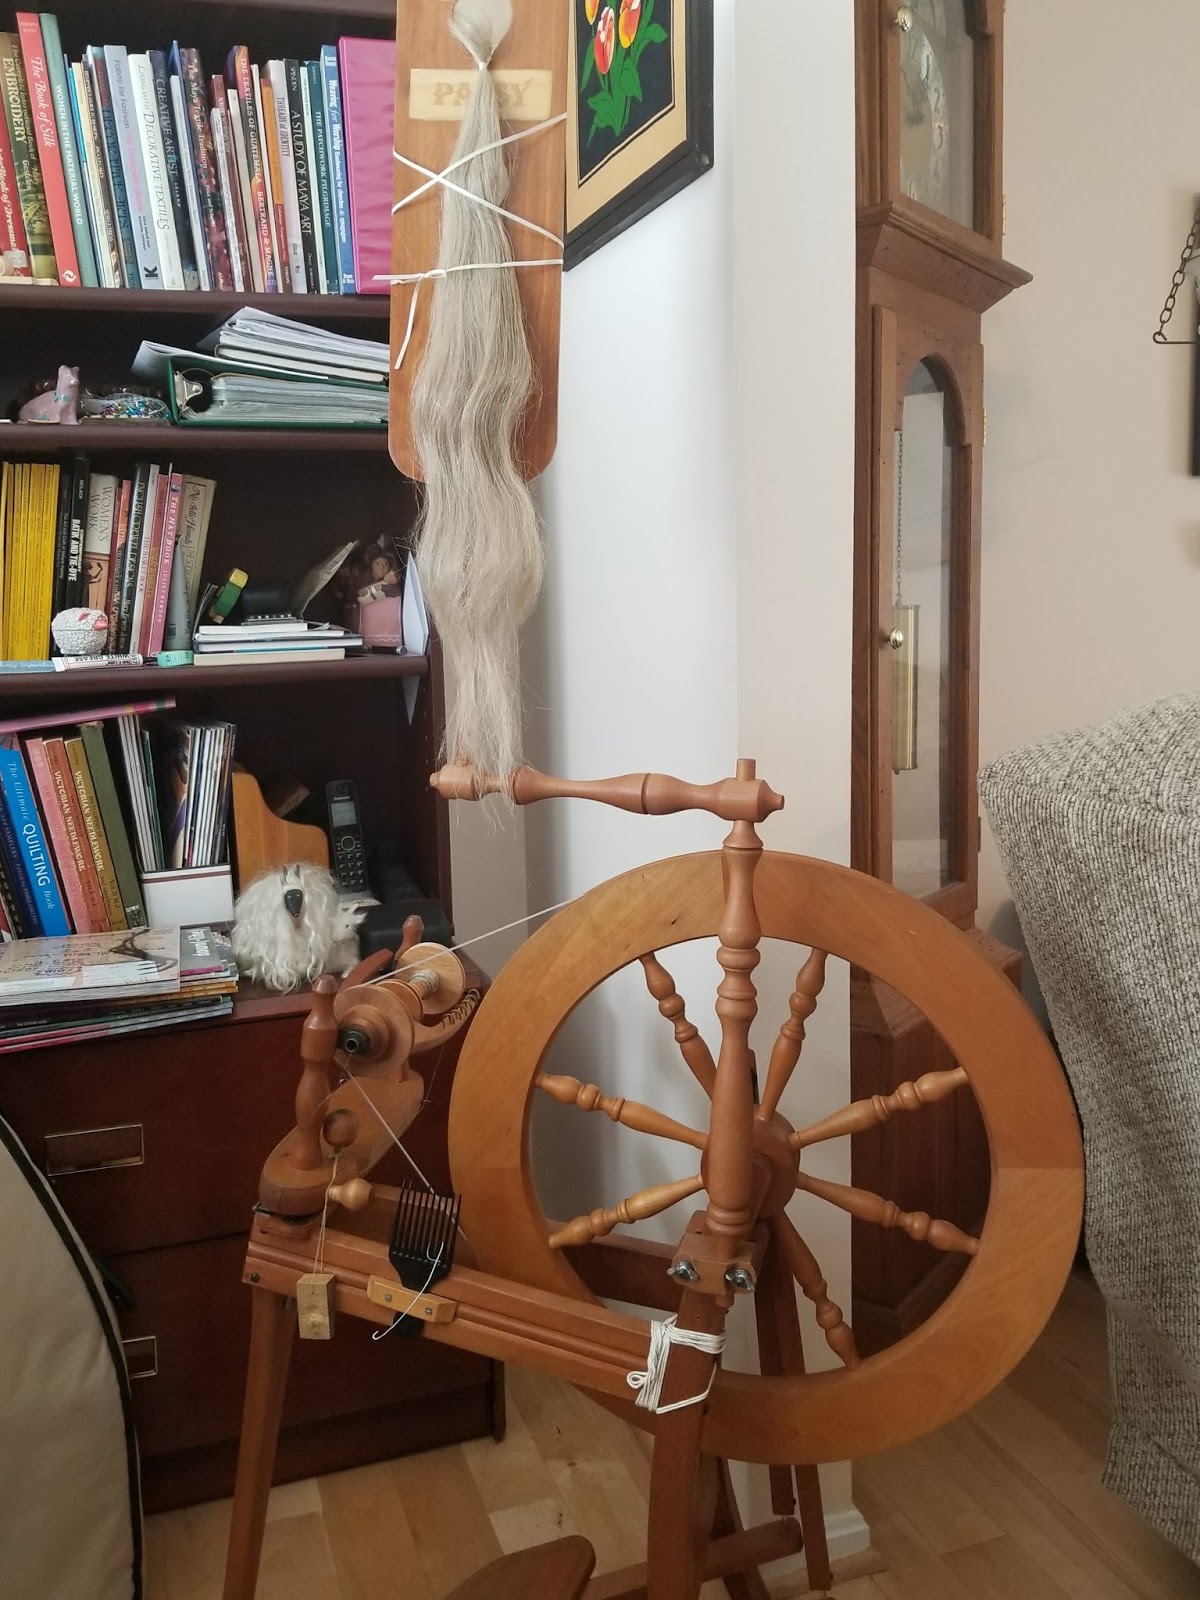
My brother made an adjustment to where the Ashford distaff attached to the traditional wheel.  Instead of attaching to the front leg, mine attaches to the side leg nearest my knee.  (Below there is more information on exactly how it was created.)  The distaff I'm using is a handmade paddle style that is extra tall.  This is what works best for me.

Some of my students like drafting from the middle of the fibers and I recommend tieing both ends of the stick to make a loop.  The loop is helpful if you have a very short distaff.   Below you can see how the fork is attached with a rubber band and is used to hold the top of the tied fibers.  

Attached fork
Flax loop


A variety of distaffs

Below are a few different stand-alone setups.  That you can try.  The base can be a Christmas tree stand, a dress form stand, a coat rack, or a music stand.  The uprights can be a dowel or even a handle from a broom or "swifer" style cleaning tool. In class I often use a plastic fork taped or rubber banded to the top.


The far right is a lovely oak  birdcage or basket distaff made years ago by Rick Reeves.  If you have someone who can do some woodwork this is a lovely style to try and copy.  Start with a small stool, drill a hole to attach a long pole.  The basket is bent basket reeds.

Since I prefer to draft from the end of a ponytail, I usually use it without the birdcage.

If you have a Traditional Ashford wheel and your backhand is your right, here are photos of how my holder was shortened so that I could attach it to the wheel upright.

The full setup with a paddle distaff
Shortened clamp 
Clamped to the upright

The original clamp was longer and made to fit on the front leg and hold the distaff to the left of the spinner.  Be creative experiment with different styles, once you know exactly how and where you like your distaff, then you can have someone make one to fit your style. 

Just an explanation of the white cord below the distaff holder, I keep my extra long drive band for when I use this wheel as a double drive, with a diferent mother of all.  Teachers are like that!


The Origami Mobius Vest - Part One


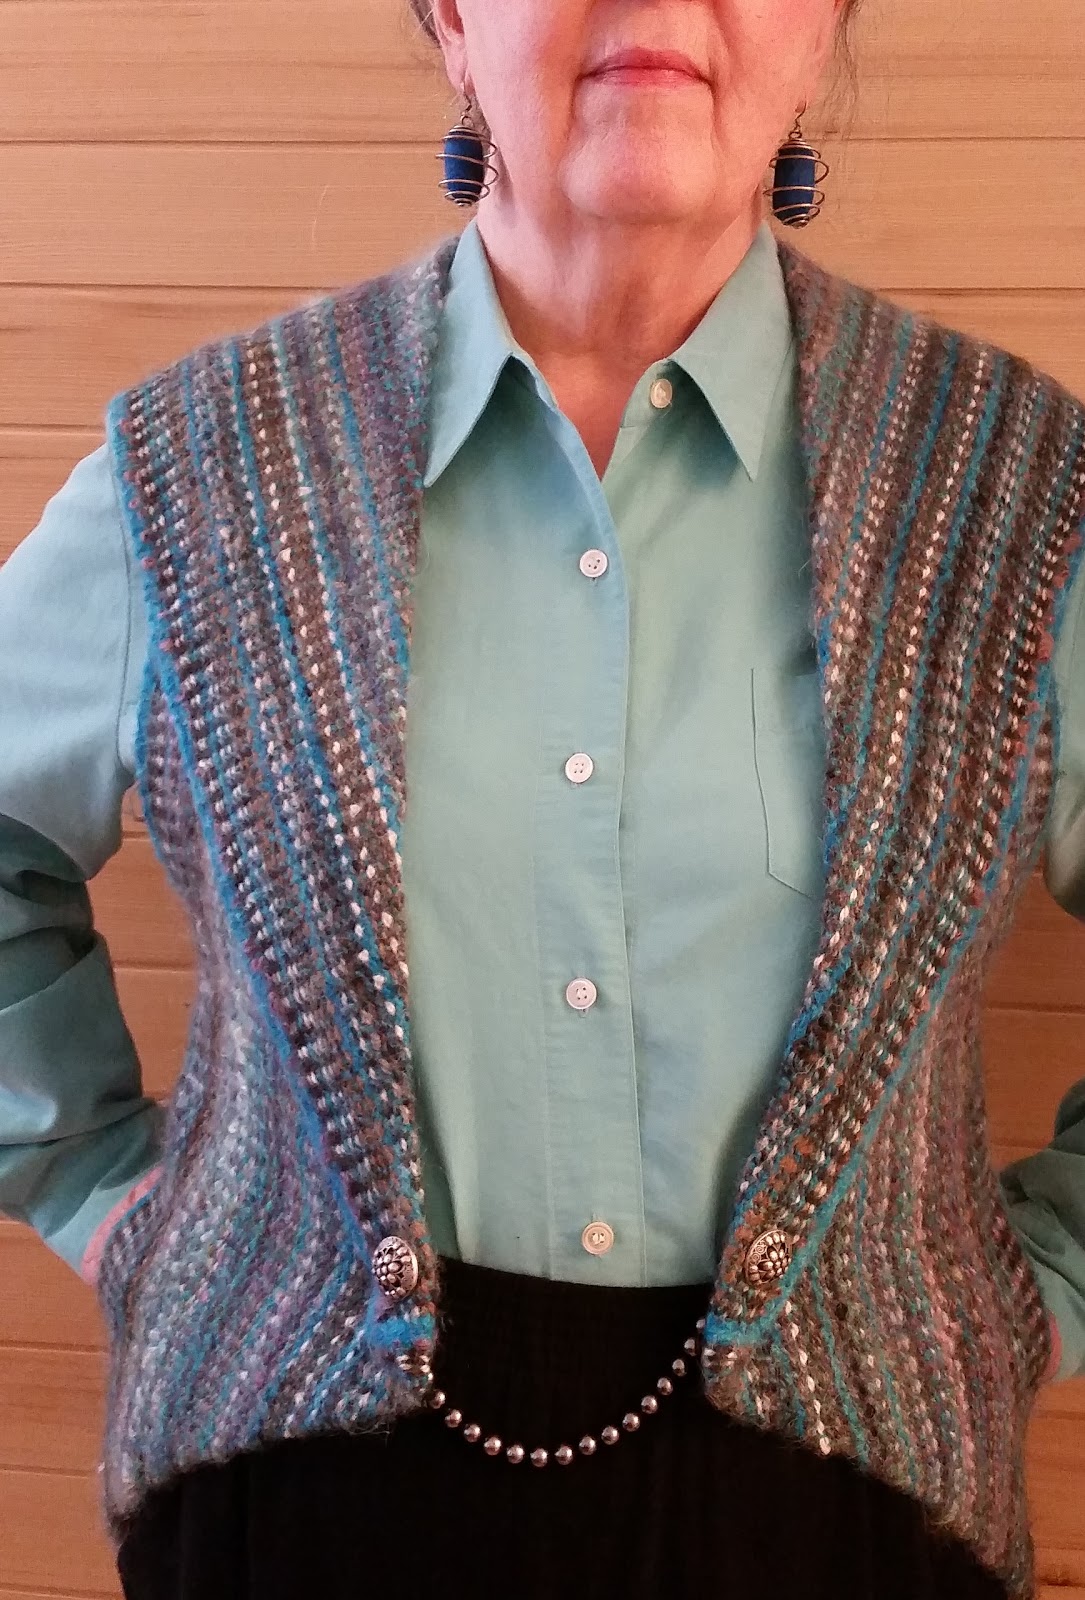
After several requests,  I've put together a little presentation to explain my Origami Mobius vest.   Here is the front, with slash pockets and a wide shawl collar.  The yarn is all handspun and woven on a rigid heddle loom.  Since it is warp-faced, that means it has twice as many warp ends as weft picks.  The warp is actually from sample yarns from multiple classes.  The weft is turquoise as well as the selvage threads. 
 The back doesn't have any collar at all, this is due to the Mobius fold that creates the illusion of a front collar.  The back is seamed down the middle to the waist and the back lower band is eased to give a better fit at the hips. 
Try it with graph paper.  You'll need to cut and tape so that you have a length 10 squares by 120 squares.  The thing that allows the origami folding to work is the fact that as a weaver we can make a fabric that is beautiful on both sides.

 1.  Four squares equal10 inches, the size of the vest fabric for my vest is 10"x 120" plus a bit for ease at the hips.
 2.   I've numbered the front side and colored the back side with red hatching marks so you can keep track of the folds. Start with the back side facing you. 

3. The first fold is four squares from the center back (between 6 and 7) on both sides and is a perfect 45-degree angle, so the back side is now showing.  Both sides become parallel to each other.
  
4. The next fold makes the pockets by folding the sides under and toward each other.  On the backside, you will see the side that is numbered.

5. Turn it over and you are looking at the front with the deep V pocket folds which need a little bit of stitching at the side bottom to keep a lipstick, credit card, and tissue.

 6.  Now we will make the collar fold, mine is a long shallow fold.  It starts one square above the last fold and ends ten and a half squares away.  The fold brings the back side to the top as the shawl collar is shaped. (The exact angle depends on your own shoulders.  Start with this amount and adjust to fit.) 

7. The shoulder fold is eleven and a half squares up from the bottom edge.  

8.   This should allow you to tape (whip stitch) the back center edges together.  Now you have the front view.

9.  And this is the back view.  The cut edges (1 and 12) are whip stitched to (6 and 7).  Try this with graph paper first until it is clear where you need to make folds.

In the 2024 Jan 30 blog entry, I discuss the construction including hiding a cut edge and adding ease for hips at the back waist with a small side panel. 

CELEBRATE CELLULOSE Especially My Fave FLAX

Cellulose fibers - flax, in particular, have been in my hands a great deal this summer. I have finished two important articles for the PLY magazine's flax issue. I can't say exactly what the articles are, but I'm very pleased and I have a created a teaser video about the last finishing step that you might need after you scour your yarns.  The scouring usually activates the lignins that are part of the fiber creating a very stiff yarn.
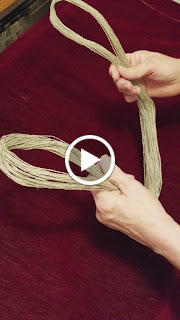
Enjoy, better yet join me in one of my classes at SAFF in NC, in October

The Year of Spinning Cellulose Fibers, Join me

I declare this my year of CELLULOSE!  I've taught cellulose classes twice in MI and VA, plus GA, NY, and OH.  I'm still scheduled for more of the same classes at MFF, OR, and SAFF. Cellulose is any fiber that doesn't come from an animal.  Not WOOL.

These incredible fibers are obtained from plants, like the seed hair - cotton or the bast fibers; flax, hemp, and ramie. They're perfect for spinning fine and creating beautiful weaving yarns. The first photo has natural and yellow dyed flax plus white ramie yarns shown as skeins and woven into a table mat.


The earrings are 2-ply handspun flax, which is perfect for any Irish Crochet patterns you might have.  I will point out that once flax is spun, it magically becomes linen under your fingertips.

Cotton yarns are soft and supple.  The brown cotton yarns in the third photo are plied with soysilk and knit into a summer scarf.  This year we are featuring Sarepta brown cotton fibers from Louisiana.  In Cotton classes, I always start students spinning the cotton while still attached to seeds.  Then we move into the ginned lint and finally the rovings.

In most workshops, we have time to do a comparison dyeing to show how the same dye, prep, and concentration change by the fiber involved. Don't forget to bring an apron and rubber gloves.

Banana fibers, historically called abaca, were stripped from the leaf sheath of a non-edible type of banana plant.  Sometimes this fiber was called Manilla Hemp.  The banana fiber we'll use is harvested from the entire Banana stalks and leaves left after the plant has finished fruiting.

Not only are they not wool, they don't act like wool, they don't feel like wool or spin like wool.  Sign up today, at Michigan Fiber Festival or Southeastern Animal Fiber Fair.

Patsy Zawistoski