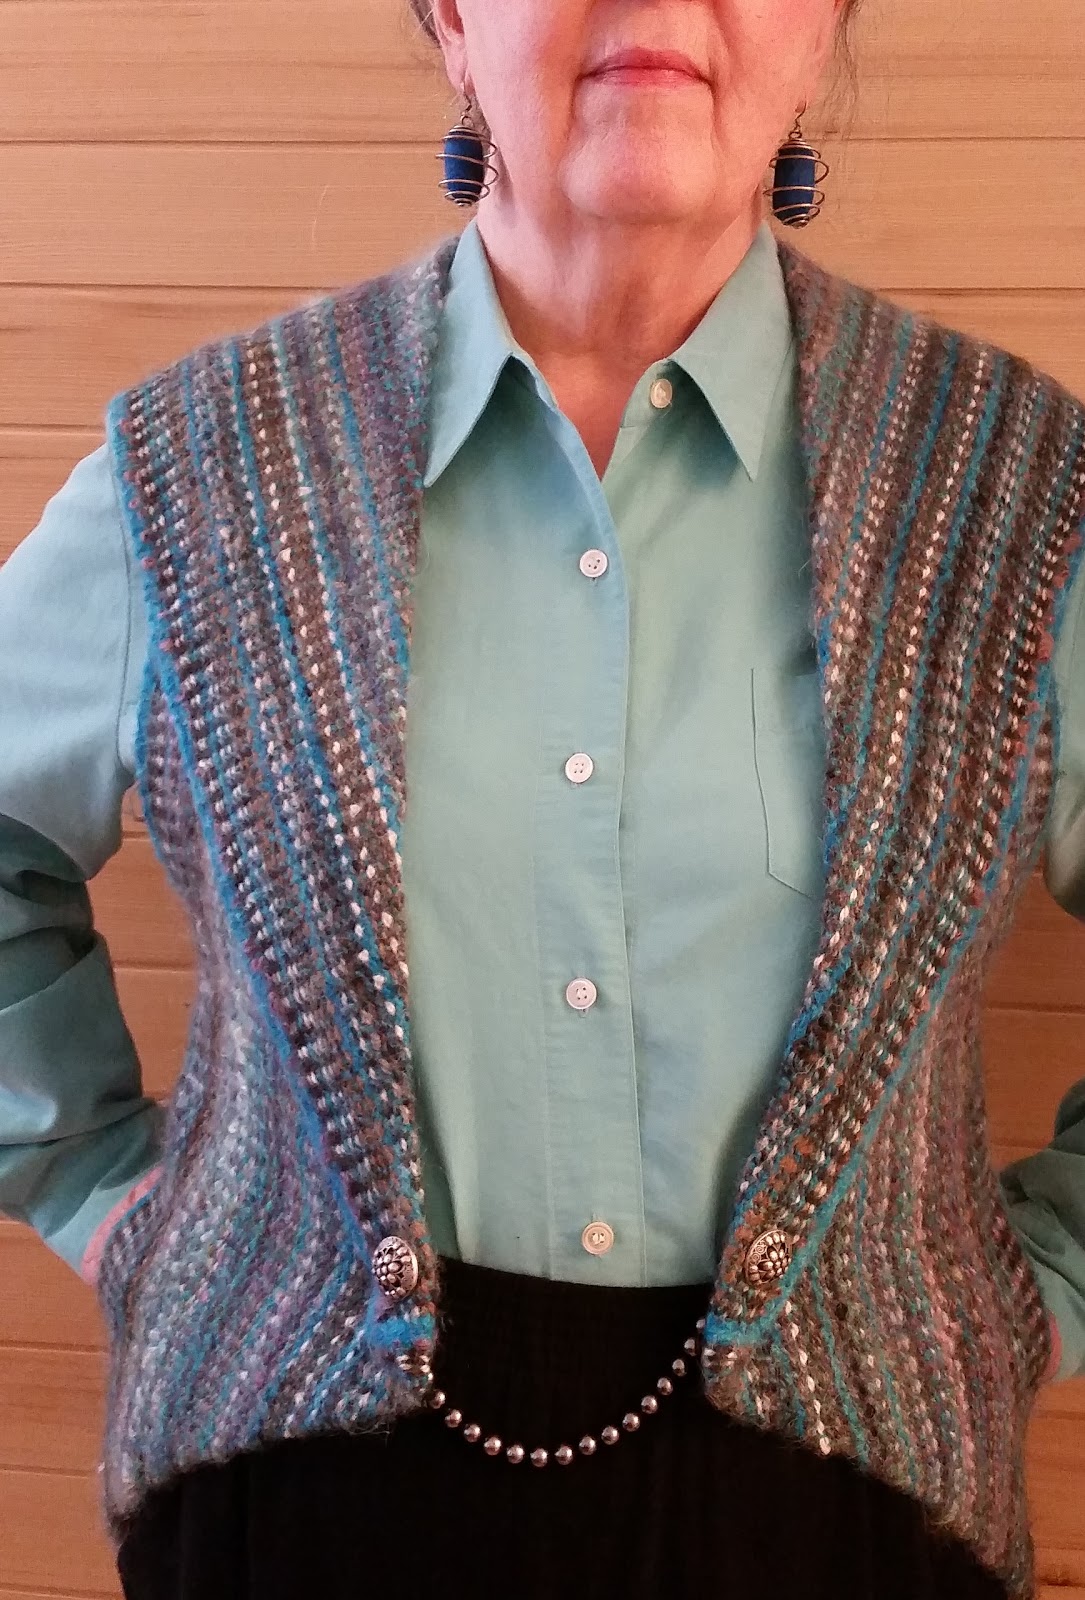
 After several requests, I've put together a little presentation to explain my Origami Mobius vest. Here is the front, with slash pockets and a wide shawl collar. The yarn is all handspun and woven on a rigid heddle loom. Since it is warp-faced, that means it has twice as many warp ends as weft picks. The warp is actually from sample yarns from multiple classes. The weft is turquoise as well as the selvage threads.
The back doesn't have any collar at all, this is due to the Mobius fold that creates the illusion of a front collar. The back is seamed down the middle to the waist and the back lower band is eased to give a better fit at the hips.
Try it with graph paper. You'll need to cut and tape so that you have a length 10 squares by 120 squares. The thing that allows the origami folding to work is the fact that as a weaver we can make a fabric that is beautiful on both sides.
1. Four squares equal10 inches, the size of the vest fabric for my vest is 10"x 120" plus a bit for ease at the hips.

2. I've numbered the front side and colored the back side with red hatching marks so you can keep track of the folds. Start with the back side facing you.

3. The first fold is four squares from the center back (between 6 and 7) on both sides and is a perfect 45-degree angle, so the back side is now showing. Both sides become parallel to each other.

4. The next fold makes the pockets by folding the sides under and toward each other. On the backside, you will see the side that is numbered.

5. Turn it over and you are looking at the front with the deep V pocket folds which need a little bit of stitching at the side bottom to keep a lipstick, credit card, and tissue.

6. Now we will make the collar fold, mine is a long shallow fold. It starts one square above the last fold and ends ten and a half squares away. The fold brings the back side to the top as the shawl collar is shaped. (The exact angle depends on your own shoulders. Start with this amount and adjust to fit.)

7. The shoulder fold is eleven and a half squares up from the bottom edge.

8. This should allow you to tape (whip stitch) the back center edges together. Now you have the front view.

9. And this is the back view. The cut edges (1 and 12) are whip stitched to (6 and 7). Try this with graph paper first until it is clear where you need to make folds.
In the 2024 Jan 30 blog entry, I discuss the construction including hiding a cut edge and adding ease for hips at the back waist with a small side panel.